When I was a kid, I used to sit on rough, long blades of grass and look at the sky. I think many generations – mine, my parents and my younger friends – enjoyed looking at the sky as kids. Maybe you did too – you’d watch the clouds and try to make shapes out of the wiggly and fluffy patterns. You’d imagine flying up into the sky, and living in a cloud castle (admit it). You’d dream of waking up in a super-soft cloud bed, and lazily turn over to nibble on a bit of your cloud-pillow.
Mmm. Cotton candy.

Then you’d get up, turn on your cloud TV and nosh on your blanket.
Ah, fluffy cream puffs.

When you’re bored, you’d start making rooms out of the infinite cloud resources, eating a bit of the ground as you go.
Whoa, cheesecake!

Of course, my imaginations would eventually come to an end. I’d be interrupted by a worm or centipede. Terrified and fascinated, I would watch it until it came too close to bear, and run back home to bring a towel next time.
Cheesecakes are generally not my thing. This may be due to my older sister’s influence; my mother made a lot of cheesecake when we were younger, and she got sick of the taste after a while. Because being like her was cool, I decided that I would not like cheesecakes either.
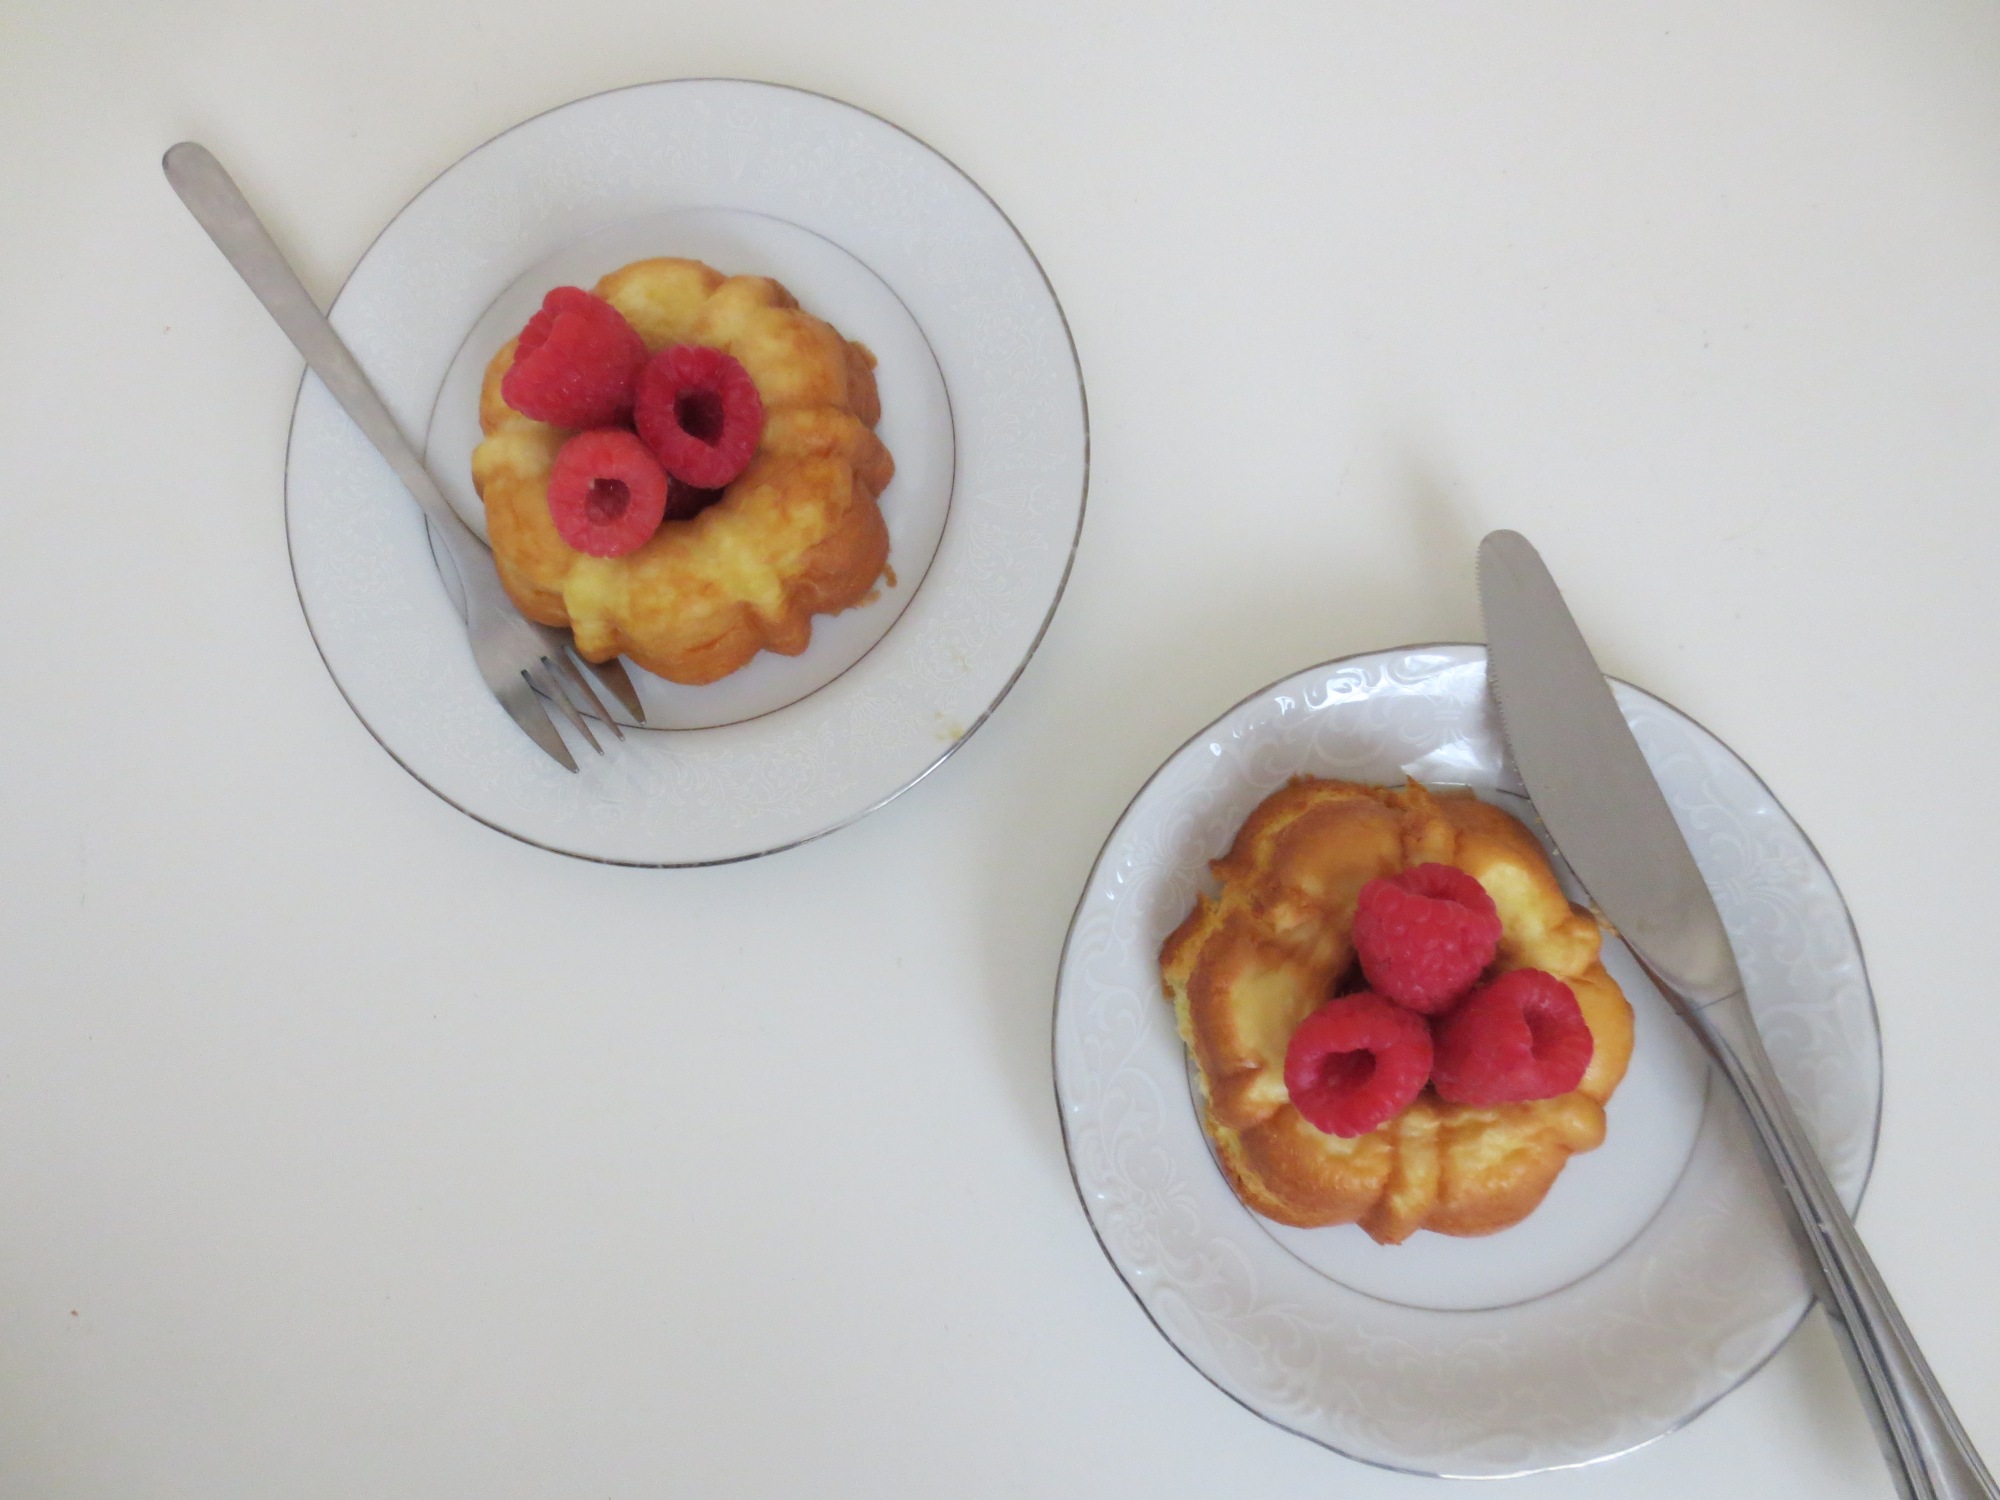
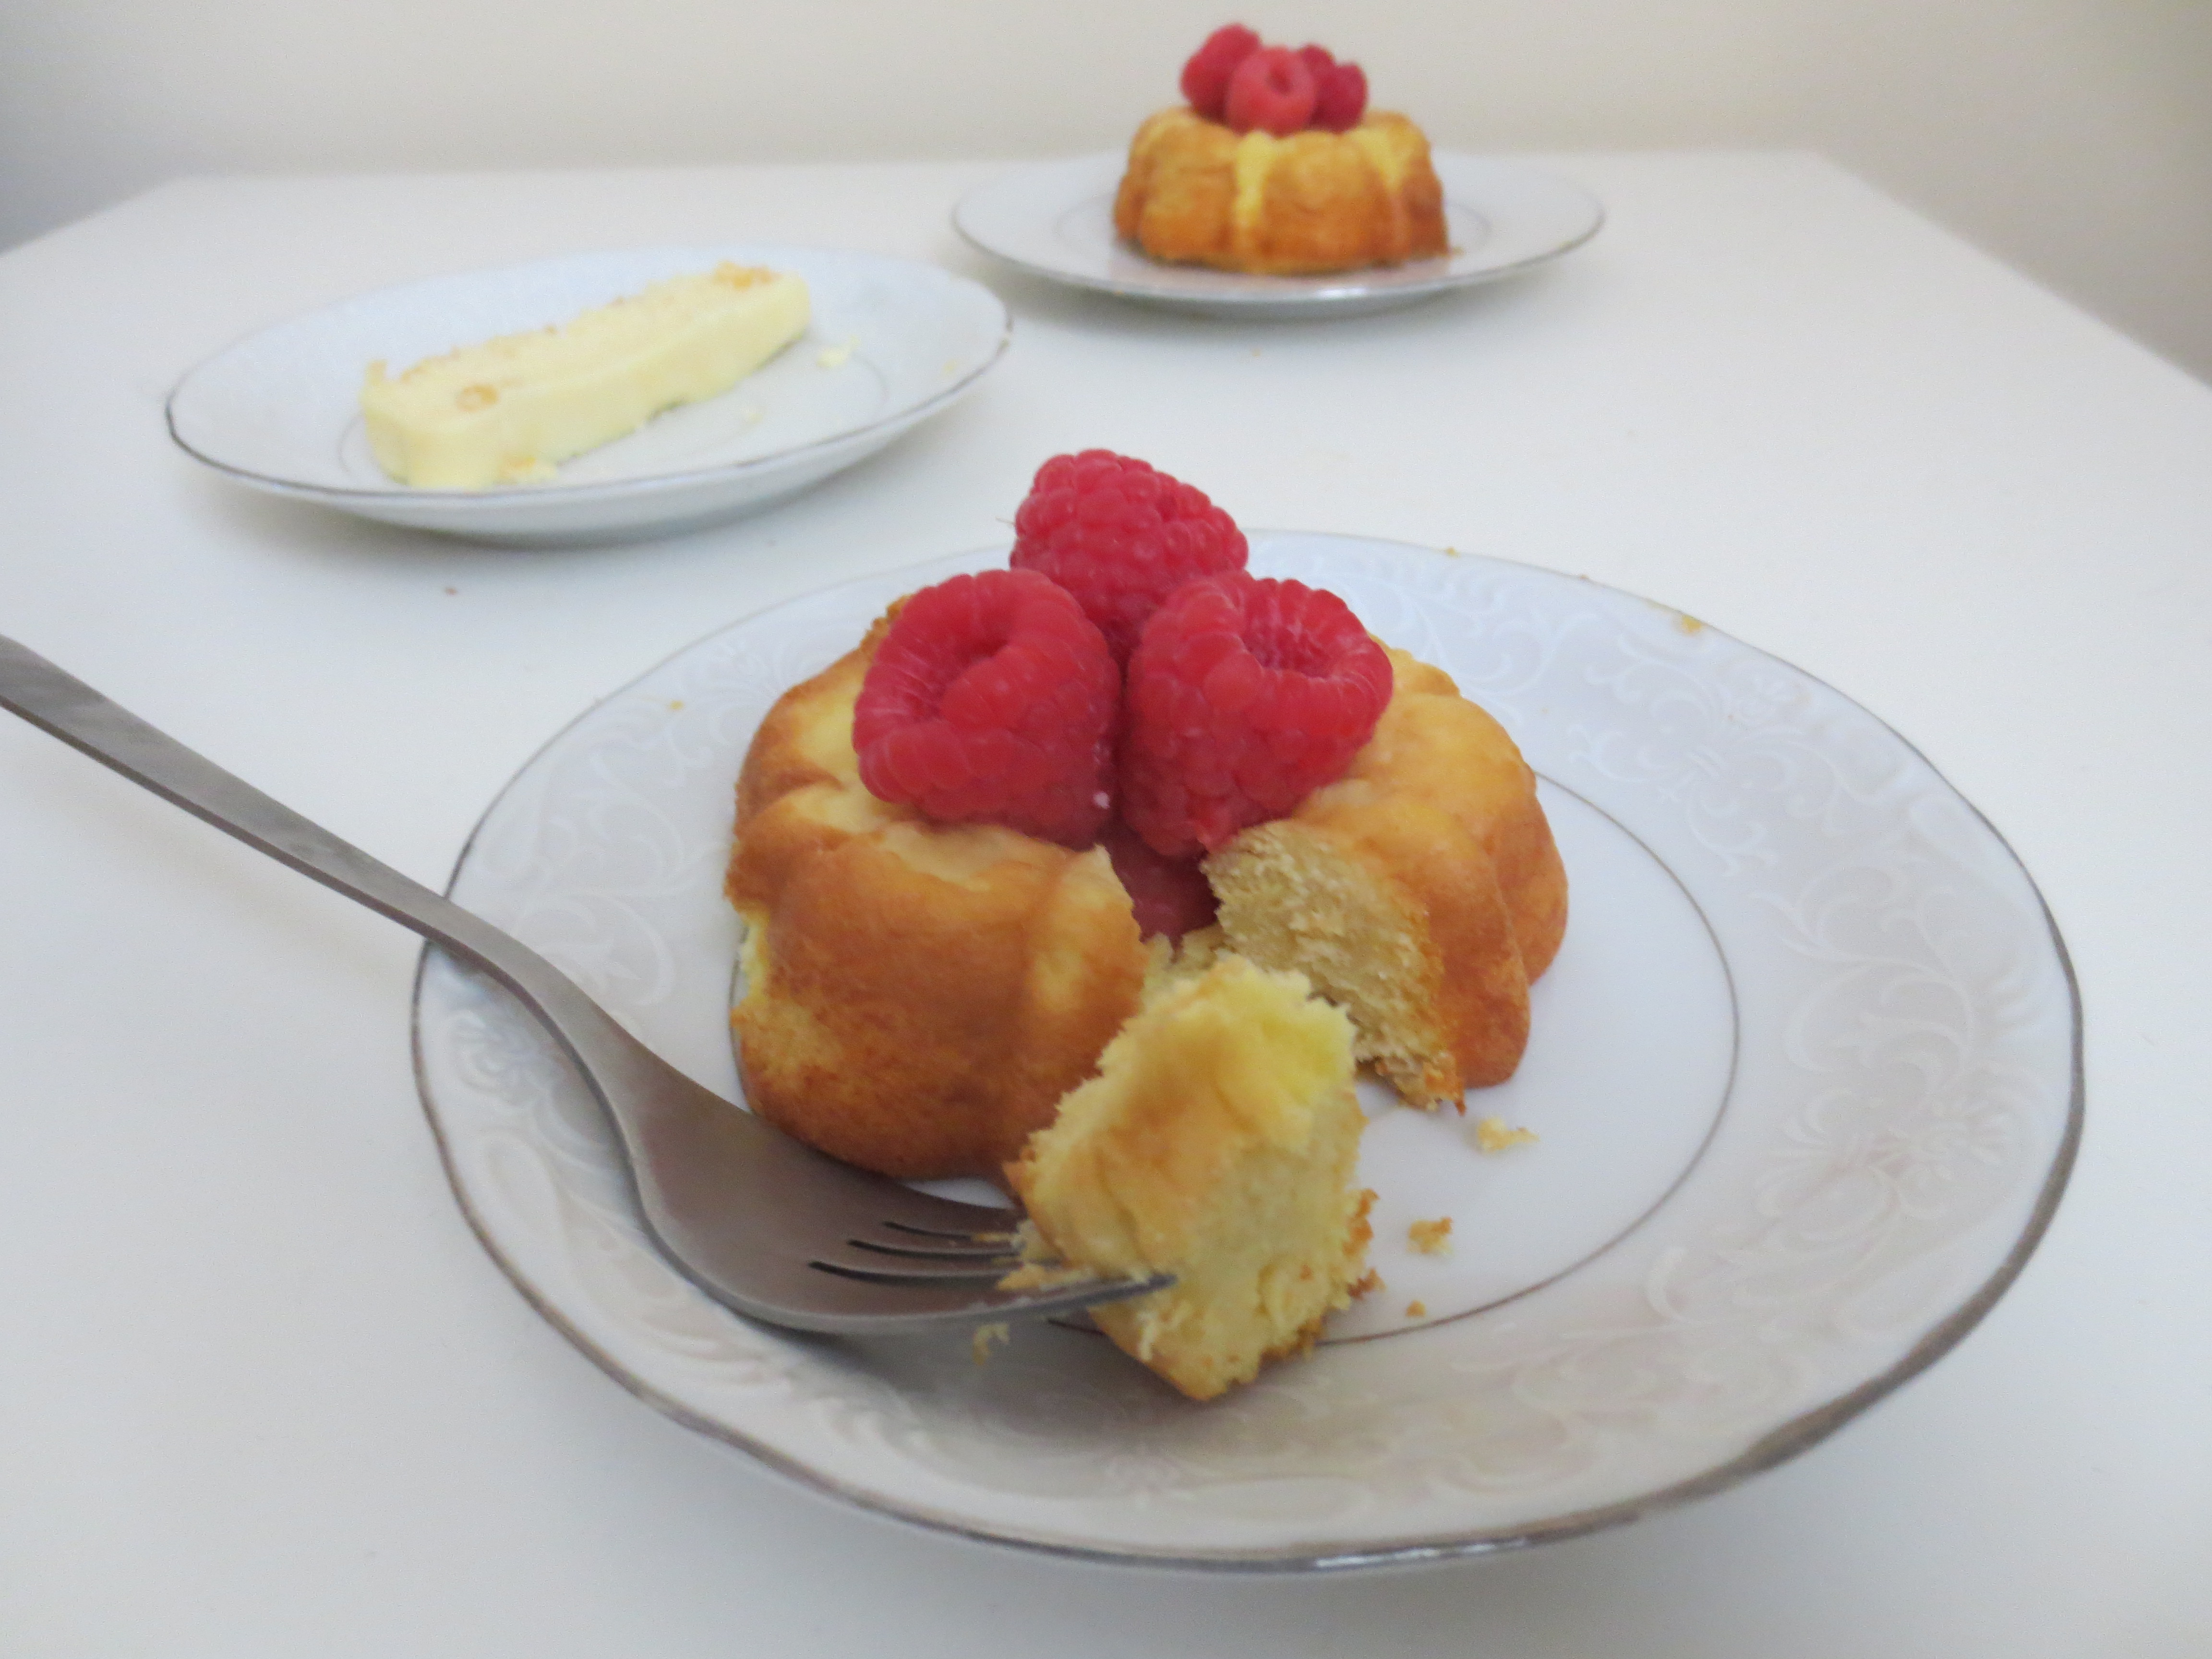
This cheesecake is a game-changer though. It has an ethereally creamy texture, and is gently sweet and tangy. If you ever dreamed of eating a cloud, this would be the texture: fluffy, melty and absolutely dreamy.
Japanese Cheesecake
Very lightly adapted from Christine’s Recipes
INGREDIENTS
1 cup (250 ml) milk
8 ounce (250 gram) cream cheese, cubed and softened at room temperature
1/4 cup (60 gram) butter, softened at room temperature
6 egg yolks
1/2 cup + 2 tablespoons (75 gram) cake flour
1 lemon’s zest
6 egg whites
1/4 tsp cream of tartar
1 cup (130 gram) powdered sugar
RECIPE
Separate all your eggs. Here’s a trick – have 3 bowls ready. Separate the yolks into one bowl, and the white into a small bowl. Place the egg whites one at a time into a larger bowl – that way, if you have a bit of yolk in your egg white it won’t mess up the whole batch.


Preheat the oven to 305 degrees F. Prepare your choice of pans – I used a loaf pan, muffin tins and a bundt pan. Line with parchment paper or muffin liners.
(Note: I tried using a non-stick pan, which worked wonderously. However, even after spraying my normal muffin tin with non-stick spray, the cheesecake sticked to my pan. Therefore either use parchment or muffin liners, or use a non-stick pan. Do not bother with non-stick spray or buttering the pan.)
If using a larger pan (I do this when baking in a 9′ pie pan and loaf pans), place it in a larger pan, such as 8×8 or 9×13 for a bain marie (water bath).
Prepare a double boiler or a metal bowl over a pot of simmering water, making sure the metal bowl does not touch the water. Turn the heat on low.

Add the milk and cream cheese into the bowl. Melt, stirring occasionally.

Add the butter and whisk until the mixture is melted and homogenous.

Remove the mixture from heat, and let cool for 10 minutes or until room temperature or slightly warm at touch of a finger. When it is so, add the egg yolks and mix to combine.


Strain the mixture for egg yolk bits and unmelted pieces of cream cheese.

Mix in the cake flour and lemon zest.
For the egg whites, prepare another large, clean bowl; make sure there is absolutely no oil, water or egg yolk in your mixture.
Beat the egg whites for 2-3 minutes on medium speed with a hand or stand mixer until frothy, then add the cream of tartar. Beat on medium-high speed for another 7-9 minutes, until the egg whites hold soft peaks. Do not overbeat the egg whites; you do not want stiff peaks, or your cheesecake will crack.
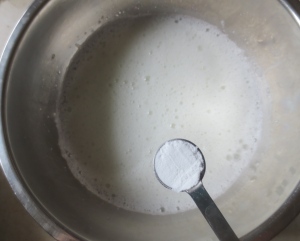
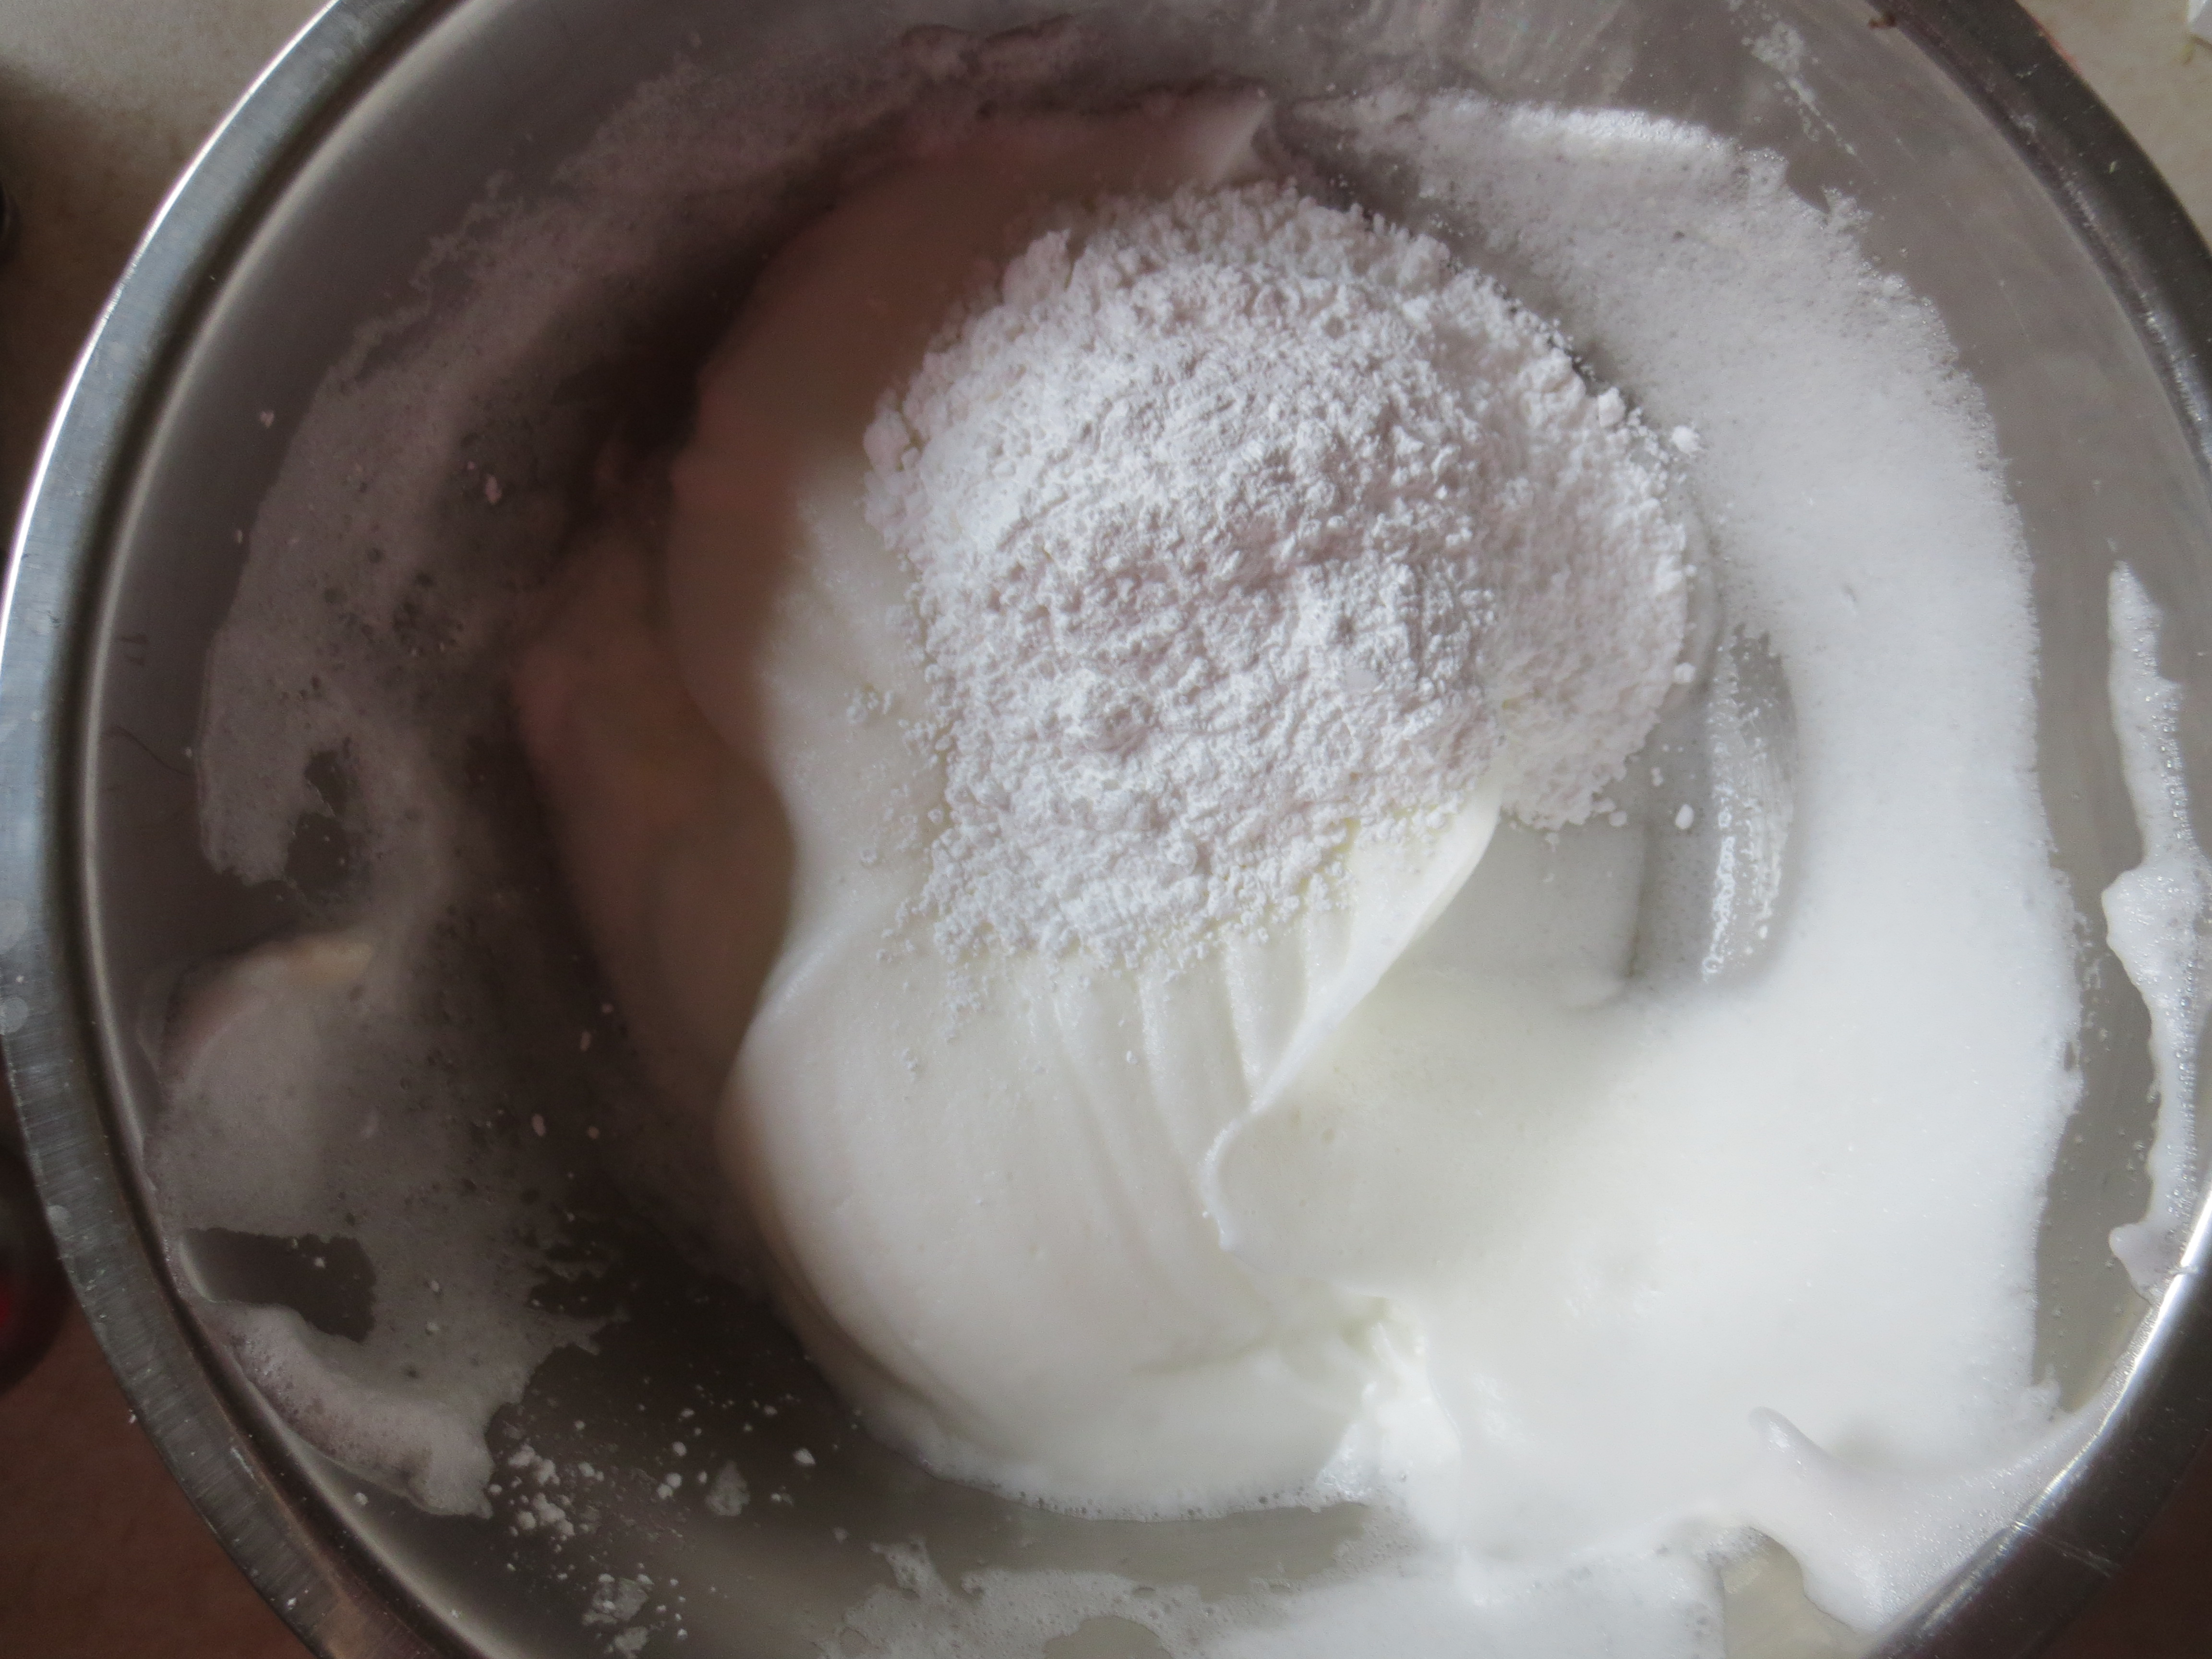
Add the powdered sugar to the egg whites. Turn your mixer on low for 20 seconds or until the powdered sugar disappears. Use a spatula to scrap down the sides and bottom of the bowl, and beat with the mixer one last time for 30 seconds.
Fold the egg whites into the egg yolk mixture 1/4 at a time. You do not need to be gentle the first time; simply whisk it in. The next 3 times, fold the egg whites in gently. Don’t worry about breaking the egg whites too much, the batter is quite forgiving.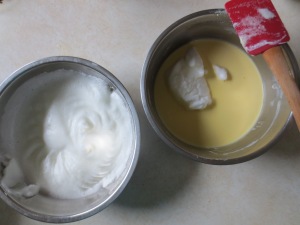

Pour the cheesecake batter into your choice of pans evenly. If using a loaf pan, pour hot tap water into the pan containing the loaf pan until it covers 1/2 of the loaf pan. This will help the cheesecake cook evenly.

For loaf, bake for 50-60 minutes. For a mini bundt pans or cupcake pans, bake for 18-23 minutes. The colour should be light yellow and only slightly orange-brown at the edges.

Turn off the oven after the set time and open the oven ajar for 30 minutes. You can prop open your oven by wedging a wooden spoon in between the oven door.
After 30 minutes, take out the cheesecake to cool completely. When it is cooled to room temperature, place the cheesecake in the fridge for 4 hours or up to overnight.
Slice and serve.
Enjoy,
Moe
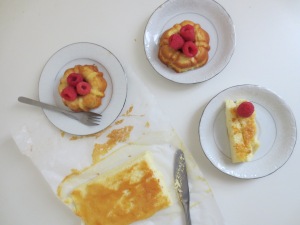
You can see how soft it is… When I left it overnight, unfortunately some of the cheesecake from the loaf stuck to the parchment paper. It is just so moist and fluffy.

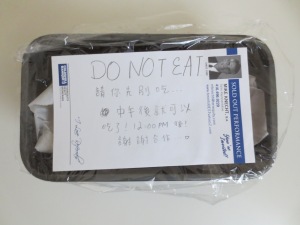
I had to protect this cheesecake with notes. It was demolished in my household in 2.5 days. I hardly even got any in my stomach, it was too popular!

看起來好好吃喔!
It look great!
LikeLike
Thank you Joyce!
Excited for our meet up in the station.
LikeLike
Delicious!
LikeLiked by 1 person
Thank you so much, Candice.
LikeLiked by 1 person
You are so welcome ♡♡
LikeLike